Showing posts with label chair makeover. Show all posts

Wednesday, September 10, 2014

From Gross to Glam: Sweet Brass Chairs Makeover

Remember those brass chairs that I bought from Goodwill for $5 a few months ago?  No you probably don't, it's been that long.  Anyway, I finally busted out the old stapler and got to work.

I decided to go with a plain lilac fabric, despite my usual penchant for patterns.  The chairs took less than a couple of hours each.  I didn't remove the old fabric, but merely stapled the new fabric on top.

Before:

The base and back attached to the brass frame by a couple of screws, so it was really easy to  disassemble.


 The brass shined up really well with some help of some Brass.


After:

Total cost for each chair was about $7.50!  Labor not included, of course.


I originally thought that they would work in my office.


I'm still deciding on the picture.


The chairs look okay in here if you only look at this side of the room.


But in the context of the whole room, they just don't fit in.  So they're up for sale if anyone wants to buy them!

Wednesday, March 12, 2014

Sweet Brass Chairs

I swear I have design ADD or probably just ADD in general.  No I haven't finished the banquette yet, but I've already managed to get distracted by yet another project!  I need serious help.

The banquette has taken a lot out of me.  It was way harder than I anticipated.  Maybe it's because I'm a bit of a perfectionist; but those damned tufts!  Ugh, why can't they be completely even and look like the tufted chairs in stores?

So I'm taking a mini break until I muster up enough energy to complete it.

In the meantime, look what I found.


And at an unbelievable price of $5 for both.  Yes, you read that right, $2.50 a piece!  Yes, they're gross and the kids refuse to sit in them ever, even after I recover them.  But ooh the possibilities.

Let's have a look, shall we?

Graphic or floral?


Different fabric on back and front?


Way too busy I think.

Narrowing it down.


Love all of these Caitlin Wilson prints.

Which one do you think I'm going to go for?


This is definitely a contender.  It's outdoor fabric so great for repelling stains; it's pink, which I love;  and the pattern is not too bold that it overwhelms the chair.

But there's something about this next one that just speaks to me.


Yes, I know, bloody chevron again!  I know most of you are probably sick of chevron, but this is slightly more chic wouldn't you agree?

But then again I'm also leaning towards no pattern.


But instead a lovely soft velvet.  Decisions, decisions.  I hope I don't ponder too long over this one.  What would you choose?

Tuesday, October 15, 2013

Wingback chair makeover part 3

Progress has been slow, very slow!  I only have one upholstery lesson left and I'm only about 1/3 of the way finished.  If I was doing it all by myself at home I'd have had it finished ages ago, but the instructor is showing me the proper way to do things and that takes time.

The following steps took 3 lessons to do.

After you've stripped everything off your chair, it's time to put it all back again!  You can reuse batting and foam if it is in good condition, but because of the age of my chair, I chose to use all new materials.

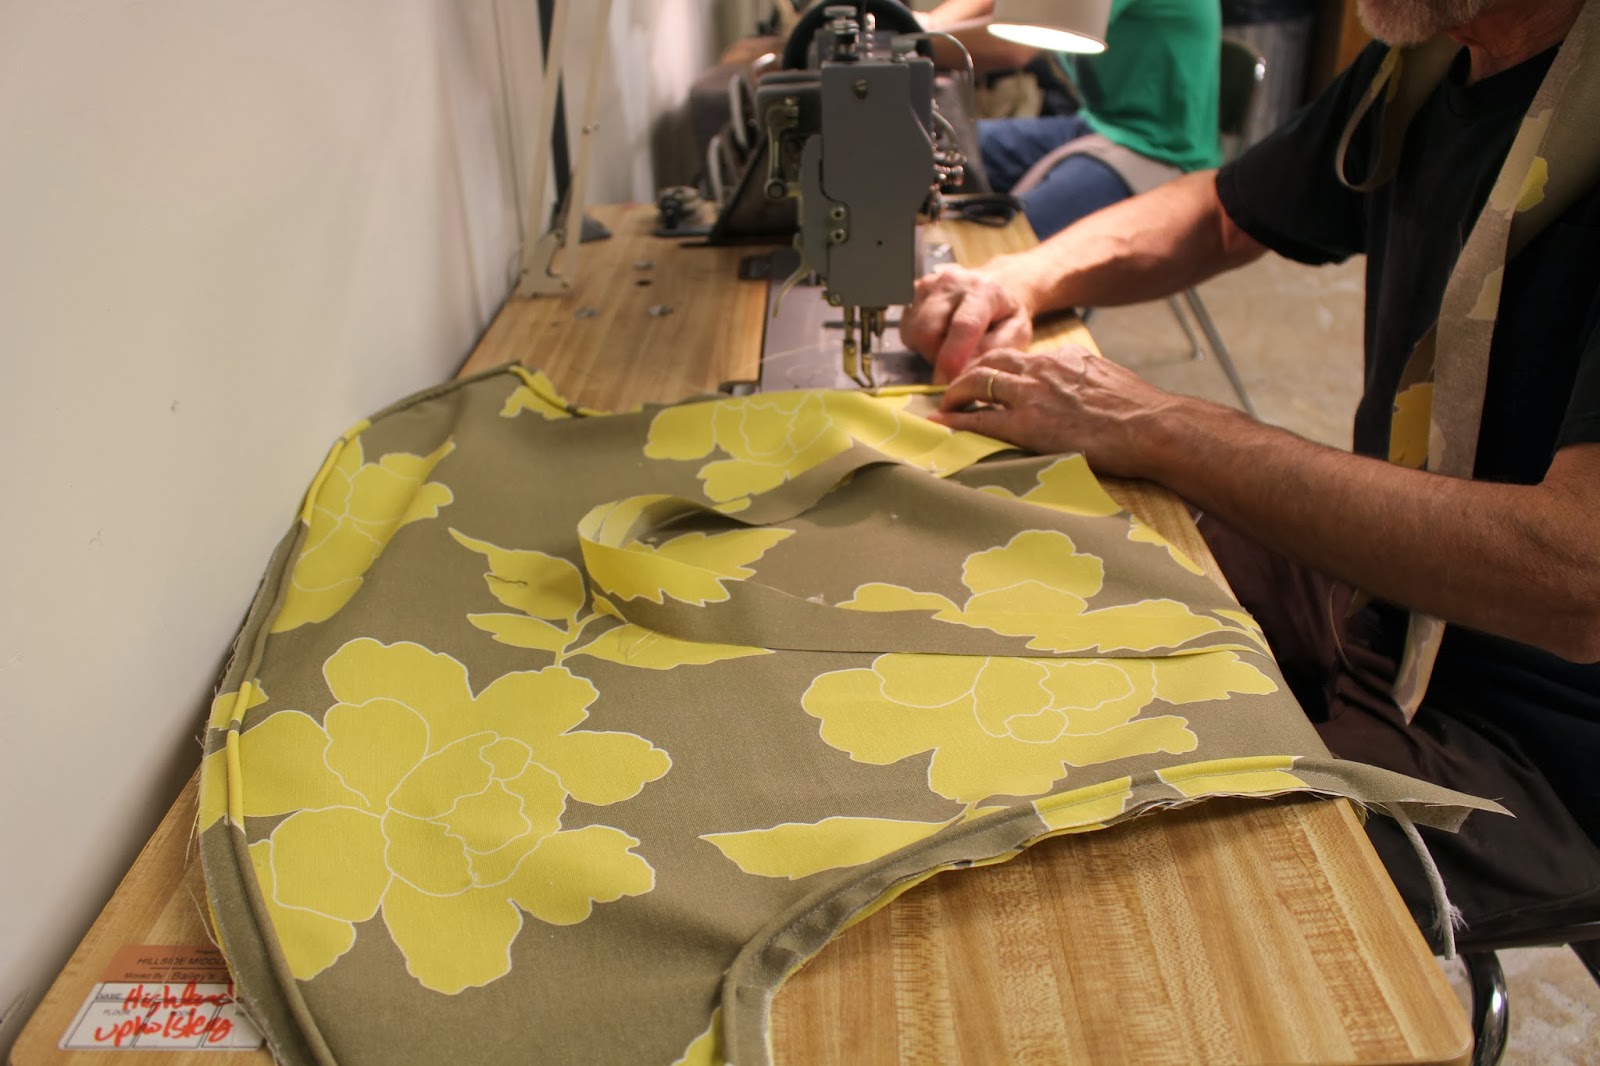
Lay out all of the pieces of fabric that you took off the chair and use them as guides to cut out the new.  Don't forget to include seam allowances.  You can cut around the pieces that will be sewn, such as the seat cushion and arms.  However, the pieces that will be upholstered (the ones that were stapled on) you will need to add a couple of inches extra to be able to pull the fabric through and staple it onto the frame (these original pieces will have been trimmed once they were stapled on, so don't rely on cutting these to size from the templates).


If you want your designs to line up then you have to be clever about how you cut these pieces out.

After all of your pieces have been cut out, including any long pieces for piping, it's time to reupholster!

Start by putting batting over the front bottom of the chair.


Make sure not to stretch it too much so as to keep the loft even.

Next, sew the decking (the plain fabric) to the fabric that will cover this batting.  My front part is curved around so it was necessary to make some pleats in the fabric.  The pleats were sewn by my ever patient instructor.


Staple the decking and front piece onto the frame.  Don't staple around the legs yet.


The next step is to make the cushion cover. 

You want the top of the cushion to be exactly the same size as the bottom.  Also make sure that it is symmetrical, so don't necessarily rely on the old piece of fabric, just use this as a guide.

No need to pre-sew your piping, just sew the piping onto the seat cushion in one go.  Make sure to pull the seat fabric taught so that you don't get any fullness (like I did in a number of places!).  Remember, you want both of the seat sides to be exactly the same size after you have sewn the piping on (easier said than done).  It also helps to snip the fabric on the piping at the corners.


Once you have the top and bottom of the seat cushion cover sewn with piping, the next step is to make the zipper.


Once that is done, you can sew the zipper to the side section and sew this on to one of the cushion pieces.

my instructor's hands, not mine!
Once you get all the way around the cushion, make a flap with the extra material to cover the zipper and sew in to place.

Turn your cover inside out and sew it to the other side.  Hopefully your pieces will meet up perfectly!


This is the finished cover with the old insert.  I'll cut new foam and batting which will take care of the bunching at the front.


I decided not to have my patterns meet up because I didn't have enough fabric to be able to play with the design.  I don't think it detracts from the upholstery job but I'm sure that there are professionals out there that would disagree.


I think it's going to look great, if I ever finish this thing!  I only have one session left, and unfortunately the boys have a gig that night so I will probably be only able to go for 1/2 hour.  I can take the chair home and do it myself, otherwise I have to wait until the next classes start in January!

To see the other posts in this series go to Part 1 and Part 2.

Friday, September 20, 2013

Wingback chair makeover Part 2

Sorry, but this post isn't going to contain any pretty pictures.  But it is the next installment on how to reupholster a wingback chair.

An important thing to remember is that to take lots of pictures so you know exactly how to reconstruct the chair.  Also important is to keep the old fabric that you pull off and label it.  You will be using this fabric as a template for your new fabric.


Don't forget to also label which side is up.

Once you strip all of the fabric and batting off you are left with something like this.


You want to check the sturdiness of your chair to see if you have to do any reinforcements.  Sometimes you'll want to tighten screws or use nails.

Check the foam to see if it's still good.  You can reuse some of these things.  The decking (padding on the seat bottom) was still ok but I decided to add a little bit more padding for extra cushioning.


 Now comes the tricky part; deciding what fabric to use.

DwellStudio Vintage Plumes in Jade

DwellStudio Peony 

DwellStudio Peony and DwellStudio Fretscene Canary
Any guesses as to which fabric I chose.  Stay tuned, all will be revealed next week ;)

Tuesday, September 17, 2013

Wingback chair fabric choices

It's time to think about what the heck I'm going to recover the wingback chair in.  I definitely want something with a pattern, but do I go graphic, or do I go organic?

For some reason a little voice inside my head has been telling me to use DwellStudio's Vintage Plumes fabric.  Yes, birds again!  I've seen this fabric in person and it is really pretty; a sort of modern take on chinoiserie.  It's not exactly like my peacock bedding but close enough that I could put them together in the same room.  But that shouldn't matter, because I'm not sure if I'm going to keep the chair once I finish it.

Here's some pictures of furniture upholstered in the Vintage Plumes fabric.


I've seen this fabric for sale at my local Calico Corners.  You can buy it online for around $60 a yard!  And considering that I would need at least 5 yards of it, well that kind of settles it then, doesn't it?

Still not to be deterred, I decided to make the trip to Calico to see if they had it for less.  On the way, though, I stopped into Hancock Fabrics to see what selections they had.  It's a bit hit and miss at Hancock; you never know what you're going to find.  I was surprised to see Thomas Paul fabric there (the same pattern as my famous office chair!).


It's not the same fabric but the print is the same.  I think I'm over it though.


I do think that the yellow above could look nice and fresh.  If I was to use the two fabrics, I would put the floral on the inside of the chair (i.e. chair seat and back and arms) and the graphic print I would put on the outside of the wings and arms and the back (hope that makes sense).  Yes, I'm up to my old tricks again of mixing graphic and organic.  The price for the above fabrics is $24.99 a yard, but it is currently 50% off.  So I could potentially reupholster for around $60.

Next stop was Calico Corners where I was surprised to see that they don't carry DwellStudio anymore, or many Thomas Paul fabrics for that matter.

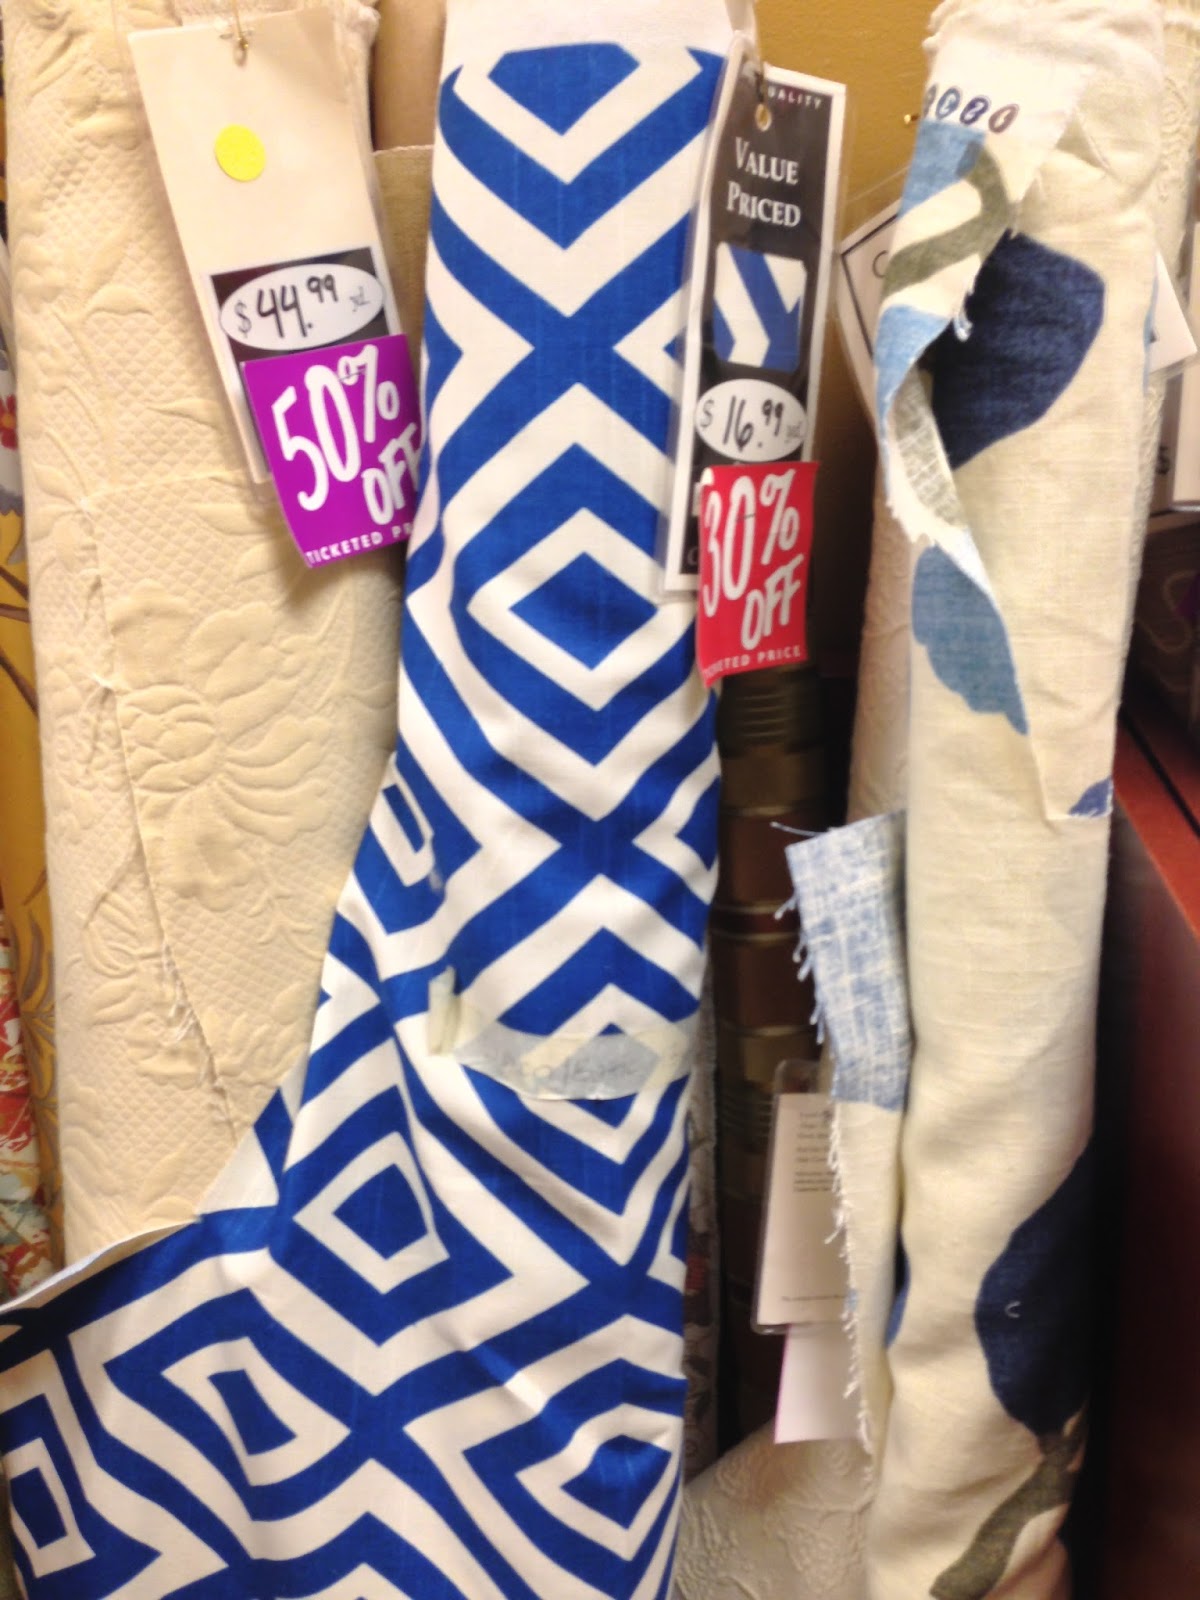
I did see this Dixon slub on clearance.  I love the hex print, very David Hicks, but not the colour.


A client had asked me to source some kelly green imperial trellis wallpaper for her, so when I saw this fabric below it totally reminded of that style.  The green and white would be really fun, but the material wasn't strong enough for upholstery use.


So I totally struck out at Calico, but I did have one more place in mind.  One of the ladies on my upholstery course mentioned a fabric store called Home Fabrics.  She said it was way cheaper than any other fabric store in town and often had close-out fabrics for really good deals.  Let me tell you, I was skeptical; especially when I first walked in.  Rows and rows of not particularly inspiring fabrics and a buzzing overhead light that really started to get on my nerves.  Just as I was about to leave, you wouldn't believe what I spied.  Ok you've probably guessed it by now, and I swear I didn't make this up.  


Seriously!  It's the power of The Secret.  Now if only it would work for me getting a gorgeous colonial home that I dream about.

Was it too good to be true?  Did they have enough fabric on the roll?  I scooped up the fabric, clutching it tightly in my hands.  Nobody's going to be stealing my find!  Not that anyone would because there was only one other person in the store.  And why am I being so dramatic?  Anyway, turns out there is 4 3/8 yards.  Let's hope it's enough.  Total price, just over $60.

Having said that, still not sure I'm going to use it or go with the yellow.  

Here's the chair as a reminder.


What do you think? Graphic, floral or both!