The following steps took 3 lessons to do.
Lay out all of the pieces of fabric that you took off the chair and use them as guides to cut out the new. Don't forget to include seam allowances. You can cut around the pieces that will be sewn, such as the seat cushion and arms. However, the pieces that will be upholstered (the ones that were stapled on) you will need to add a couple of inches extra to be able to pull the fabric through and staple it onto the frame (these original pieces will have been trimmed once they were stapled on, so don't rely on cutting these to size from the templates).


If you want your designs to line up then you have to be clever about how you cut these pieces out.
After all of your pieces have been cut out, including any long pieces for piping, it's time to reupholster!
Start by putting batting over the front bottom of the chair.

Make sure not to stretch it too much so as to keep the loft even.
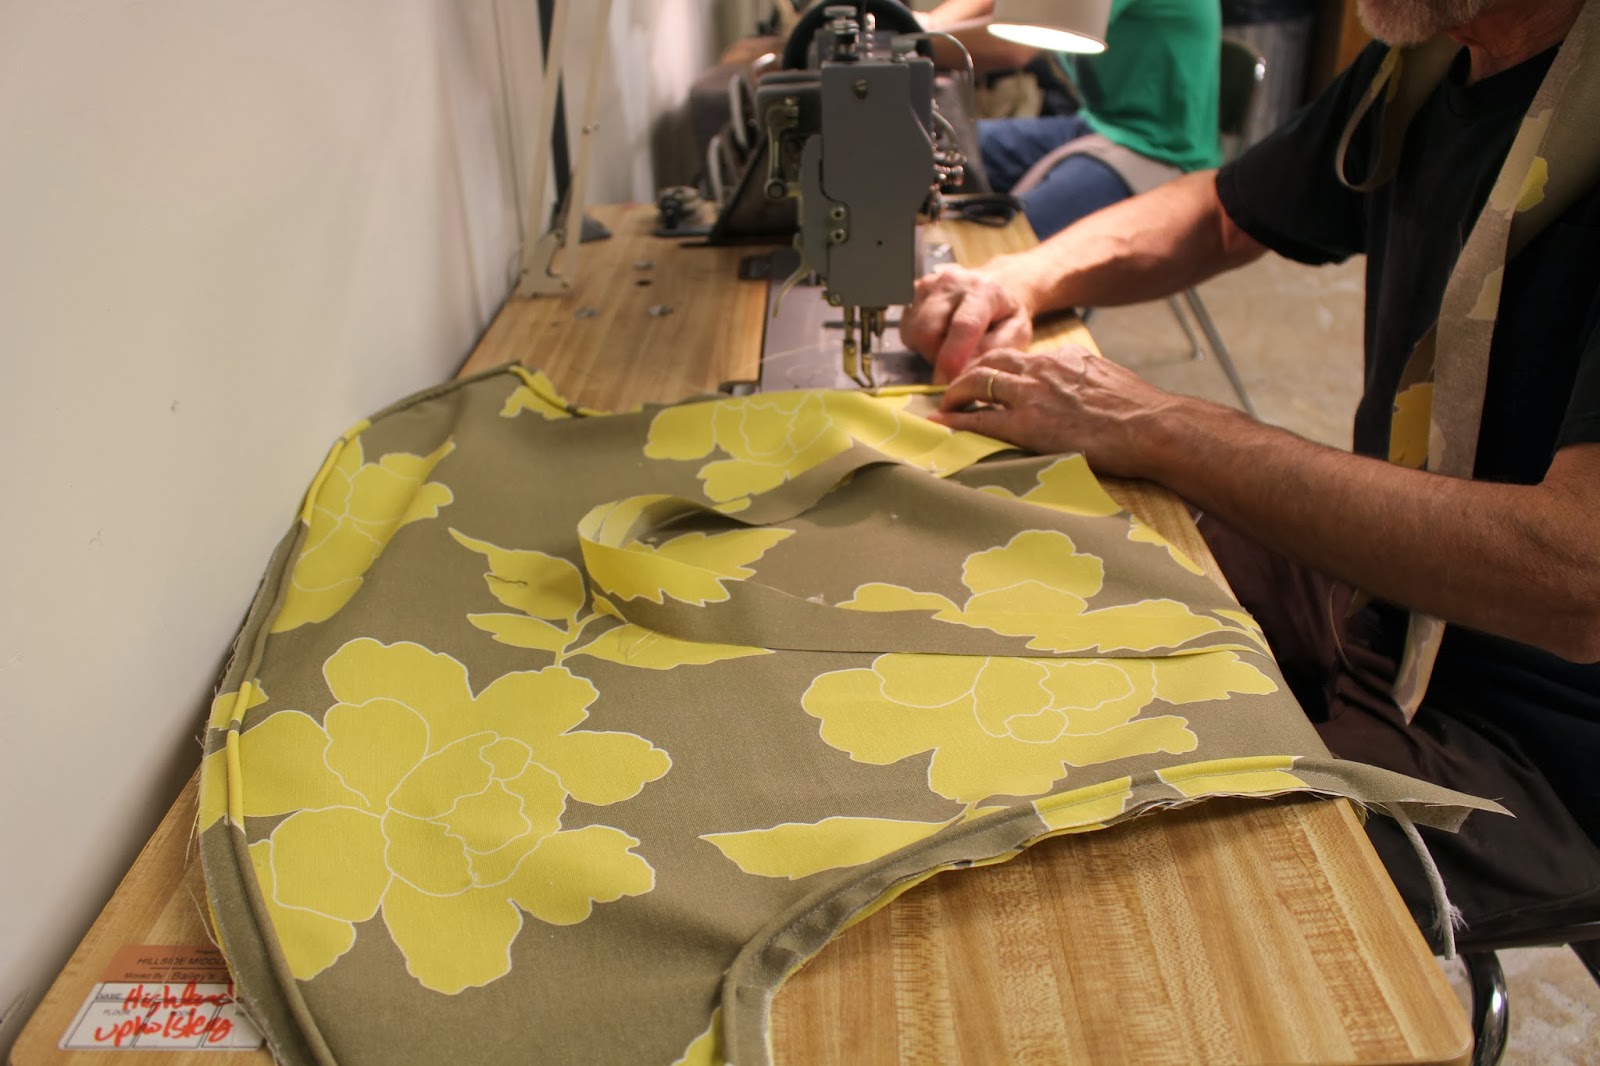
Next, sew the decking (the plain fabric) to the fabric that will cover this batting. My front part is curved around so it was necessary to make some pleats in the fabric. The pleats were sewn by my ever patient instructor.


Staple the decking and front piece onto the frame. Don't staple around the legs yet.


The next step is to make the cushion cover.
You want the top of the cushion to be exactly the same size as the bottom. Also make sure that it is symmetrical, so don't necessarily rely on the old piece of fabric, just use this as a guide.
No need to pre-sew your piping, just sew the piping onto the seat cushion in one go. Make sure to pull the seat fabric taught so that you don't get any fullness (like I did in a number of places!). Remember, you want both of the seat sides to be exactly the same size after you have sewn the piping on (easier said than done). It also helps to snip the fabric on the piping at the corners.
Once you have the top and bottom of the seat cushion cover sewn with piping, the next step is to make the zipper.


 |
| my instructor's hands, not mine! |
Turn your cover inside out and sew it to the other side. Hopefully your pieces will meet up perfectly!

This is the finished cover with the old insert. I'll cut new foam and batting which will take care of the bunching at the front.

I decided not to have my patterns meet up because I didn't have enough fabric to be able to play with the design. I don't think it detracts from the upholstery job but I'm sure that there are professionals out there that would disagree.

I think it's going to look great, if I ever finish this thing! I only have one session left, and unfortunately the boys have a gig that night so I will probably be only able to go for 1/2 hour. I can take the chair home and do it myself, otherwise I have to wait until the next classes start in January!
To see the other posts in this series go to Part 1 and Part 2.
See my latest post on my failure to complete my own (tiny in comparison) upholstery job! Ha! I bow to your tenacity - it's going to look amazing. xxx
ReplyDeleteDid you ever get to finish this chair? I have a similar one that I'm redoing and I would like to see how you did the back. My chair was refinished professionally before so it had metal brackets in it. Please let me know!!
ReplyDeleteHi Julie, I hate to admit it, but I've still not finished the chair. I do plan on finishing it, but need to get some professional upholstery supplies. Good luck with your project!
Delete